Understanding Layer Height: How to Achieve Perfect Detail in Your 3D Prints
When it comes to creating detailed 3D prints, layer height is one of the most critical settings in your arsenal. A fine layer height can bring out intricate details, while a thicker one can speed up printing without sacrificing too much quality. But how do you strike the perfect balance between detail and efficiency?


In this guide, we’ll break down everything you need to know about layer height, so you can optimize your prints to perfection. Let’s dive in!
What Is Layer Height and Why Does It Matter?
Layer height, simply put, is the thickness of each individual layer your printer lays down during a print. Think of it like the “resolution” of your print: the thinner the layers, the higher the detail. Standard FDM printers allow you to adjust layer height, usually from 0.1 mm (very fine) to 0.3 mm (thicker), depending on your nozzle and printer capabilities.
Lower Layer Height = Higher Detail: Lowering the layer height can capture more intricate details in your model.
Higher Layer Height = Faster Prints: Increasing layer height reduces print time but can lead to a slightly “rougher” surface finish.
Pro Tip: If you’re printing a large model where details aren’t critical, a thicker layer height will save time. For fine-detail models like miniatures, go for a finer layer height to capture those intricate features.
1. Choosing the Right Layer Height for Your Model
The best layer height largely depends on what you’re printing and how much detail you want:
Detailed Prints (Miniatures, Figurines): Use a layer height of around 0.1-0.15 mm for excellent detail. This is ideal for miniatures, decorative prints, and parts with fine textures.
Standard Prints (Functional Prototypes, Everyday Objects): A layer height of 0.2 mm is a good balance for detail and speed, suitable for most everyday prints.
Large Models (Functional Parts, Large Objects): For quicker prints, a layer height of 0.25-0.3 mm will reduce print time, although it may compromise a bit of surface smoothness.
Fun Fact: Some hobbyists compare layer height to pixels on a screen; the smaller the “pixels,” the sharper the final image!
2. How Layer Height Affects Print Time
Reducing layer height will naturally increase the number of layers your printer has to create, and this can significantly impact print time.
Example: A model that takes 4 hours to print at 0.2 mm layer height could take around 6 hours at 0.1 mm.
Tip: Use lower layer heights only where necessary. For instance, on figurines, use a lower layer height for the head and torso, but increase it for the base or pedestal where detail isn’t crucial.
Quick Calculation: Many slicers give you an estimate of print time. Try slicing your model at different layer heights to compare print times and find the right balance.
Recommendation
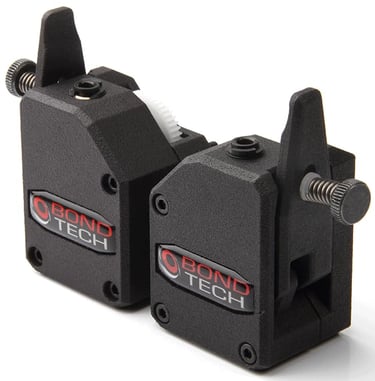
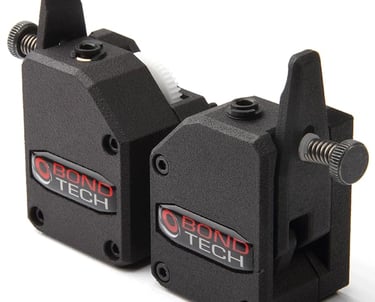
A high-speed extruder like the Bondtech BMG can handle small layer heights at faster speeds, helping reduce print time.
3. The Impact of Layer Height on Print Strength
Layer height doesn’t only affect detail; it also impacts print strength. Thicker layers have slightly more bonding strength between each layer, while thinner layers can be more brittle.
For High-Strength Parts: Aim for a layer height around 0.25 mm or higher, as this can produce parts that withstand more stress and wear.
For Aesthetic Parts: If appearance matters more than strength, lower layer heights will make the print look smoother and more refined.
Pro Tip: If you’re printing a functional part that requires strength, consider a thicker layer height for durability. But, for figurines or display pieces, go thinner for crisp detail.
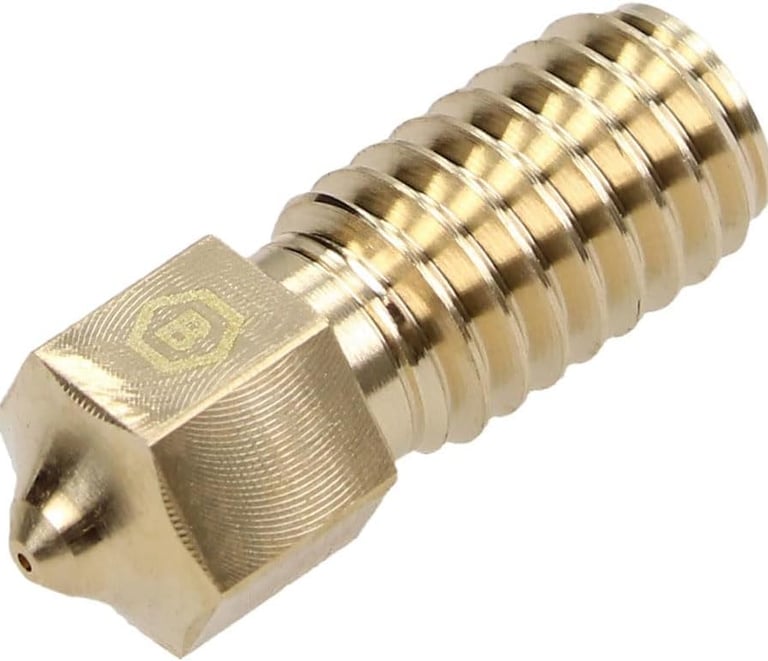
4. Balancing Layer Height with Nozzle Size
Your nozzle size also plays a huge role in the achievable layer height:
Standard Nozzle (0.4 mm): Best for layer heights between 0.1 to 0.3 mm.
Fine Detail Nozzle (0.2 mm): Allows for thinner layers, down to around 0.05 mm, but may increase print time.
Large Nozzle (0.6 mm or 0.8 mm): Great for big models with layer heights above 0.3 mm, but detail is limited.
Quick Note: A good rule of thumb is to use a layer height between 25-75% of your nozzle diameter. Going too high or too low can reduce print quality.
5. How to Choose the Right Layer Height in Your Slicer
Most slicers offer layer height as an adjustable setting. Here’s how to make the most of it:
Variable Layer Height: Some slicers, like PrusaSlicer, allow you to adjust layer height in different areas of the model. This means you can use thin layers for intricate sections and thicker layers elsewhere to speed up the print.
Adaptive Layer Heights: Check for an “adaptive” layer height feature, which lets the slicer automatically adjust layer height based on model geometry. It’s a great way to get the best detail where it counts, without a drastic impact on print time.
Pro Tip: Experiment with custom supports when working with variable layer heights - thicker supports will be easier to remove while still holding up the model!
6. Layer Height and Post-Processing
Lower layer heights can give you smoother prints, meaning less post-processing like sanding or priming. However, for larger layers, post-processing can still deliver a clean result:
Sanding: Lower layers (0.1 mm) require less sanding but are delicate. Thicker layers (0.2 mm+) may need more sanding to smooth the surface.
Priming and Painting: Thin layers tend to show less “layering” after priming, making them ideal for miniatures and display pieces.
Fun Fact: Thicker layers are easier to sand quickly, while thinner layers yield finer detail without extra finishing work.
7. Experimenting with Layer Height for Custom Effects
Layer height can also be used to create custom effects in prints:
Layer Lines as Texture: Thicker layers can give a cool “stacked” effect, especially on organic models or parts that need a rugged appearance.
Blend Detail and Speed: Try combining a thicker layer height with a smaller nozzle to balance detail with quicker print times.
Pro Tip: When printing larger objects, consider using thicker layers on areas that won’t be visible and thinner ones where detail matters. You’ll save time without compromising on looks!
In Summary: Dialing in Perfect Layer Height for Every Print
Layer height is a key to unlocking the best possible print quality, strength, and efficiency. The right height depends on your print’s purpose, level of detail, and time constraints. Experiment with different settings to find your personal sweet spot, and don’t hesitate to tweak layer height based on the specific model you’re working on.
Mastering layer height is all about finding the perfect balance between quality and efficiency. So go ahead and experiment—with a little patience, you’ll be turning out high-detail prints that are as strong as they are stunning. Happy printing!


Consider upgrading to a smaller nozzle, like a 0.2 mm nozzle, if you’re focused on capturing ultra-fine detail
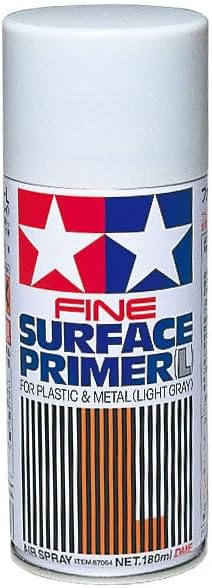
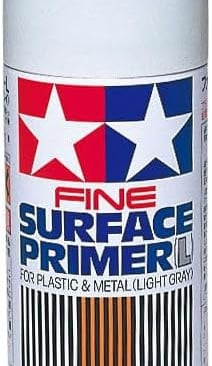
Use a high-quality primer like Tamiya Fine Surface Primer to fill in minor layer lines before painting
A high-speed extruder like the Bondtech BMG can handle small layer heights at faster speeds, helping reduce print time.