Top 5 Troubleshooting Tips for Common 3D Printing Failures
There’s nothing quite like the excitement of watching a 3D print come to life… until something goes wrong. From spaghetti-like messes to strange layer shifts, even the best 3D printers can leave you scratching your head. But don’t worry! With a few reliable tips, you can troubleshoot and fix some of the most common 3D printing failures, so you can get back to making masterpieces instead of messes.


1. Poor Bed Adhesion: When Prints Just Won’t Stick
The dreaded “popped off the bed” failure—almost every 3D printing enthusiast has been there. If your print refuses to stay put on the build plate, you’re dealing with poor bed adhesion. Here’s what to try:
Level the Bed: Ensure your print bed is level. An unlevel bed is like trying to balance a chair with one short leg—it’s just not stable.
Adjust First Layer Height: Too high, and nothing sticks; too low, and you get a “squished” first layer. Most slicers allow you to tweak this height, so aim for just the right amount of squish.
Use Adhesive Products: For those stubborn prints, a bit of glue stick, hairspray, or a specialty adhesive can help secure that first layer.
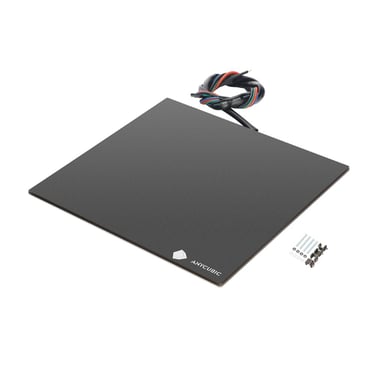
Pro Tip: Heated beds also help with adhesion, especially for materials like ABS. Set your bed temperature to around 60°C for PLA and 100°C for ABS.

2. Stringing and Oozing: Say Goodbye to Webbing
Stringing happens when small, thin strands of filament stretch between parts of your model, like tiny webs. While it’s not a catastrophic failure, stringing can ruin the surface quality of your prints. Here’s what to try:
Adjust Retraction Settings: Retraction helps pull filament back into the nozzle to prevent oozing during travel moves. Increasing the retraction distance and speed can reduce stringing.
Lower the Print Temperature: Sometimes, high nozzle temperatures cause excess oozing. Try reducing the temperature by 5-10°C to see if it reduces stringing.
Enable Travel Avoidance: Many slicers offer a setting that prevents travel moves across open spaces. This can minimize the chance of unwanted stringing.
Pro Tip: Some materials (like PETG) are naturally stringy. If you’re struggling with stringing on specific materials, try printing a small test cube first to fine-tune retraction and temperature.
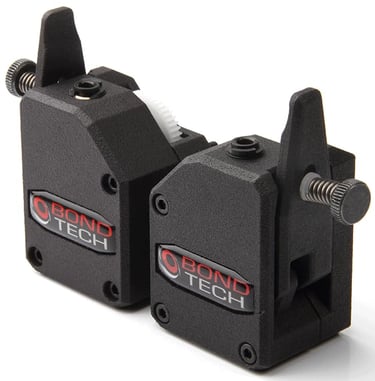
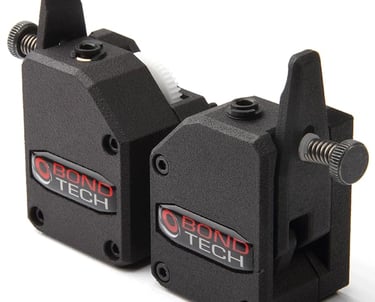
The Bondtech BMG Extruder
gives more precise retraction control, reducing stringing in even the most stubborn materials.
3. Layer Shifts: Keeping Layers in Line
Layer shifting is when parts of your model misalign, resulting in prints that look “shifted” or out of place. This can happen due to mechanical issues or incorrect settings. To troubleshoot:
Check for Loose Belts: Over time, belts can loosen and cause layer misalignment. Tighten them up, but not too tight—just enough that they stay firm without stretching.
Inspect Stepper Motors: Ensure that the stepper motor drivers are not overheating. Adding small heat sinks can help keep them cool and running smoothly.
Slow Down the Print Speed: High speeds can cause vibrations that lead to layer shifts, especially on large models. Dropping the speed down to 50-60 mm/s can help.
Fun Fact: Imagine your 3D printer as a tiny artist—if you rush it, it might start scribbling. Sometimes, slowing down is the key to neat, accurate prints!
4. Under-Extrusion: When Layers Look Too Thin
Under-extrusion occurs when your printer doesn’t push out enough filament, leading to thin, weak layers and a rough, inconsistent surface. Here’s how to fix it:
Calibrate the Extruder Steps: Adjusting your printer’s “E-steps” can improve filament flow. If you’re under-extruding, try increasing the step count by a small percentage.
Clear the Nozzle: A partially clogged nozzle restricts filament flow, so clean it out regularly, especially if you’re switching between materials.
Adjust Print Speed: Slowing down can sometimes fix under-extrusion by giving the extruder more time to push filament. Lower your print speed by 10-20 mm/s for more consistent flow.
Pro Tip: If you’re using abrasive filaments like carbon fiber or glow-in-the-dark, consider using a hardened steel nozzle to avoid clogs and wear.
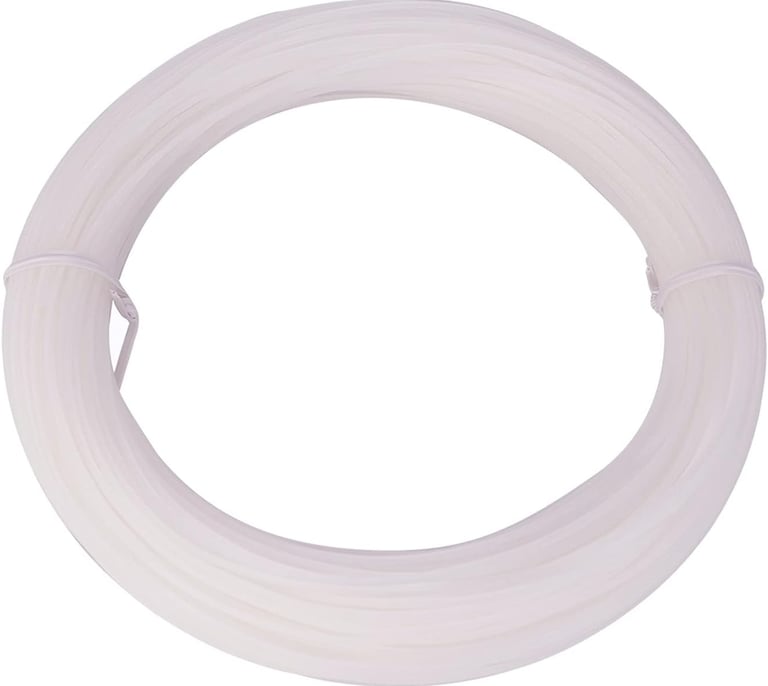
The eSun Cleaning Filament
can be a lifesaver for clearing out nozzles without having to disassemble anything.
5. Warping: Keeping Prints Flat and True
Warping happens when the corners of your print lift up from the bed, causing a curved, uneven bottom. This is especially common with materials like ABS and can ruin otherwise perfect prints. Try these solutions:
Use a Heated Bed: A heated bed helps prevent warping by keeping the bottom layers warm, reducing the difference in cooling speeds.
Add a Brim or Raft: A brim or raft adds extra surface area to the print, helping it stick to the bed more securely. Just remember to trim it off after printing.
Control Ambient Temperature: Drafts and temperature changes can cause warping, so keep your print area stable. Enclosures can also help maintain a consistent temperature.
Quick Tip: If you don’t have an enclosure, you can make a temporary one with cardboard or a plastic tote to reduce temperature fluctuations.
Final Thoughts: Tame Those Troublesome Prints
These tips should help you troubleshoot common issues and keep your 3D printing projects on track. While every printer has its quirks, knowing how to identify and resolve common failures is half the battle. Don’t be afraid to experiment, make adjustments, and maybe even embrace a little trial and error along the way. After all, even the best of us have had prints turn into a ball of filament noodles!
And remember, every print failure is just a chance to get better - so keep pushing that “print” button and turning those ideas into reality.