Mastering Washes and Highlights: Elevate Your Miniature Painting Game
Learn how to use washes and edge highlighting to create stunning depth and detail on your miniatures. Master these essential techniques and take your painting to the next level.


Creating depth and detail is what separates a good miniature paint job from a truly stunning one. Washes and highlights are two essential techniques that help bring your miniatures to life by adding contrast and definition. Whether you’re aiming for a grimdark aesthetic or a vibrant, high-fantasy look, mastering these techniques will elevate your painting game. Let’s dive into the details and get those minis ready to shine!
Think of washes and highlights as the secret sauce of miniature painting
they’re subtle but pack a punch.
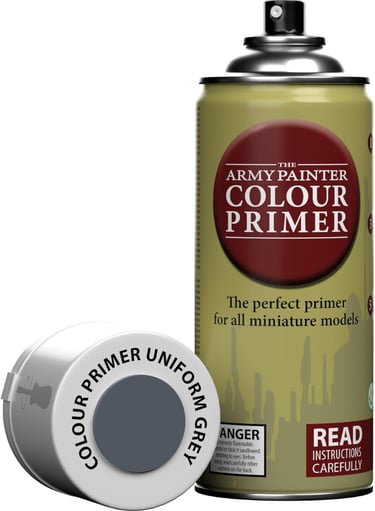
Our Favourite
all colour primers from The Army Painter are an ingenious combination of colour and primer, so you do not have to do two coats, saving you time and money.
Why Washes and Highlights Matter
Washes and highlights are like yin and yang—they work together to create balance and harmony in your paint job:
Washes: Add shadow and depth by settling into recesses. They create a natural contrast, making details pop.
Highlights: Add brightness and definition by emphasizing edges and raised areas. They draw attention to key details.
Without washes and highlights, your model might end up looking like it just rolled out of bed
flat and unpolished.
The Art of Using Washes
A wash is a diluted paint (or ink) applied liberally to a model, designed to flow into crevices and emphasize details.
Choosing the Right Wash
Black Wash: Perfect for dark or metallic models. Adds a grimy, weathered look.
Brown Wash: Great for natural tones like skin, leather, or wood.
Blue or Green Wash: Ideal for magical effects, alien models, or oceanic themes.
How to Apply a Wash
Thin the Wash (If Needed): Some washes come pre-mixed, but you can thin them with water or medium for more control.
Apply Liberally: Use a large brush to cover the model. Focus on areas with lots of texture or crevices.
Remove Excess: Use a clean brush or tissue to wick away wash from flat or raised surfaces. This prevents pooling, which can look unnatural.
Let It Dry: Washes can take a while to dry. Be patient—you’ll thank yourself later.
Pro Tip: Always test a wash on a spare model or under the base to see how it interacts with your paint.
Edge Highlighting: Precision and Patience
Edge highlighting is all about using thin, bright lines along the edges of a model to define its shape and catch the light.
Why Edge Highlighting Works
Edge highlights create a sense of realism and focus. They mimic how light catches the sharp edges of an object, making details stand out.
Tools You’ll Need
A fine detail brush (size 0 or smaller).
Paint thinned to a milk-like consistency.
A steady hand and a lot of patience (coffee helps, too).
The Step-by-Step Process for Edge Highlighting
Choose the Right Color: Use a color that is lighter than your basecoat. For extreme highlights, go one step brighter.
Thin Your Paint: Thin paint flows better and creates smoother lines.
Hold the Brush at an Angle: Use the edge of the brush rather than the tip for better control.
Apply with Light Strokes: Gently drag the brush along the edges of the model. Work slowly to avoid mistakes.
Clean Up (If Needed): Mistakes happen! Use the base color to touch up any areas where the highlight went astray.
Edge highlighting is like tracing a coloring book - but on hard mode.
Combining Washes and Highlights
When used together, washes and highlights can create stunning depth and contrast. Here’s how to combine them effectively:
Start with a clean basecoat.
Apply a wash to add shadows.
Highlight the edges to emphasize the model’s shape.
Optionally, add a second layer of extreme highlights for a more dramatic effect.
This combination ensures every detail on your miniature is visible, from crevices to sharp edges.
Common Pitfalls and How to Avoid Them
Overdoing the Wash
Using too much wash can leave your miniature looking dirty or overly dark. Always remove excess from flat areas.
Messy Highlights
Uneven or thick highlights can ruin the illusion of realism. Use thin paint and steady, controlled strokes.
Ignoring Contrast
Washes and highlights work best when they contrast with the basecoat. Choose colors that stand out without clashing.
Practice Makes Perfect
As with any skill, practice is key. Start with simple models and work your way up to more complex ones. Don’t be discouraged by mistakes—every stroke gets you closer to mastery.
Final Thoughts
Mastering washes and highlights will transform your miniature painting from good to great. With these techniques, you can add depth, contrast, and detail to your models, making them stand out on the tabletop or display shelf.
Want to learn more tips or find tools to level up your painting game? Check out GerbilForge’s resources for painters and hobbyists—we’ve got you covered!