How to Optimize Print Speed Without Sacrificing Quality in 3D Printing
When it comes to 3D printing, speed and quality are like two sides of a filament spool. We all want to print faster, but if that speed ends up giving us blobby layers or spaghetti-looking prints, it’s time to rethink our approach. But don’t worry! With a few clever adjustments, you can strike the right balance and have faster prints that still look sharp and professional.


Here’s how to boost your print speed without compromising on quality—because no one wants to sacrifice beauty for speed.
1. Dialing in Layer Height: The Speed vs. Detail Trade-off
Layer height is one of the biggest factors influencing both speed and quality. Higher layer heights can speed up prints since there are fewer layers to complete. However, they may reduce surface quality. Here’s how to find the right balance:
For Quick Prototypes: Try a layer height of around 0.2-0.3 mm. It’ll save time while keeping details acceptable.
For Detailed Prints: Stick with 0.1-0.15 mm for more intricate models, but understand this will take longer.
Quick Tip: For models where fine details aren’t essential, bumping up the layer height
is an easy way to reduce print time without a big quality trade-off.
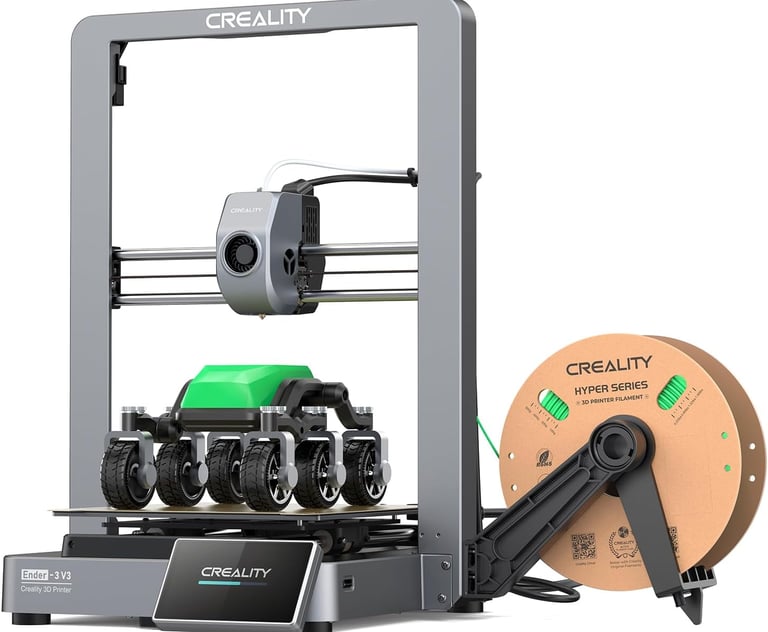
the Creality Ender 3 V3
precise layer height adjustments, making it ideal for experimenting with different print speeds and qualities
2. Optimize Print Speed Settings: Know Your Limits
Every 3D printer has a “sweet spot” for speed that keeps print quality consistent. Pushing too far can lead to layer misalignment and surface issues. Here are some general guidelines:
Detailed Parts: Stick around 40-50 mm/s to maintain high quality.
Larger Parts with Less Detail: You can push to 60-80 mm/s without sacrificing much.
Start low and work your way up, as each printer handles speed differently. And remember, while everyone wants to hit “turbo,” sometimes “cruise control” is the way to go.
Pro Tip: If your model has both fine details and larger, flat surfaces, try increasing print speed only for certain sections. Some slicers, like Cura, let you adjust speed for different model features.
3. Adjust Wall Line Count: Thicker Isn’t Always Better
Wall line count determines how many walls (perimeters) your printer adds around each layer. Reducing the wall count can shave off some print time without affecting strength too much, especially for non-functional models.
Normal Quality: 2-3 wall lines for standard prints.
Fast Prints: Reduce to 1-2 walls, especially for items that don’t need durability.
Pro Tip: Keep in mind that reducing wall thickness too much might impact the part’s strength, so adjust based on how durable you need the model to be.
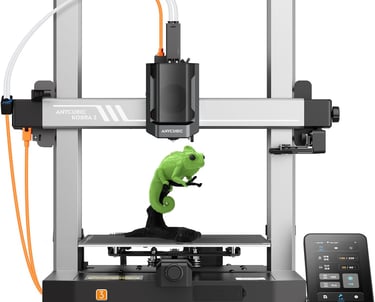
The Anycubic Kobra 3
is a fantastic FDM printer for adjusting wall counts and maintaining quality at faster speeds.

4. Tweak Infill Density and Pattern: Less Can Be More
Infill density affects both print time and material usage. Lowering infill density saves on print time, while different infill patterns can also optimize speed. Here’s what to consider:
For Fast Prints: Try 10-20% infill and use simpler patterns like “grid” or “lines.”
For Strength: You can go up to 30-40% if durability is key, but avoid overly complex infill patterns.
Extra Tip: “Gyroid” infill pattern is one of the fastest options for decent strength, with a beautiful organic pattern that won’t compromise print time as much.
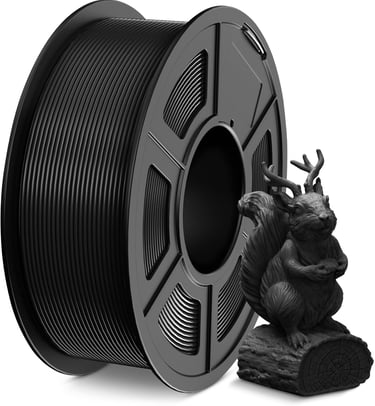
SUNLU PLA
works well with lower infill densities and has excellent layer bonding for a variety of infill patterns.
5. Retraction Settings: Avoiding Stringing and Blobs
Fast print speeds can sometimes lead to unwanted stringing or blobs, especially on travel moves. Retraction settings help control these issues, but setting them too high or too low can add unnecessary print time or quality problems.
Retraction Distance and Speed: Adjust retraction distance to about 5-7 mm for Bowden extruders and around 2-5 mm for direct drive setups.
Retraction Speed: Stick with around 25-45 mm/s for faster printing without stringing.
Quick Tip: Testing and fine-tuning retraction settings can help you achieve cleaner,
faster prints by reducing stringing.
6. Use Adaptive Layer Height for Variable Speed and Detail
Many slicers now offer an “adaptive layer height” feature, which automatically adjusts layer height based on model features. For instance, the slicer might use finer layers for intricate areas and thicker layers for less detailed parts.
How It Works: Adaptive layers provide higher quality in detailed areas and faster prints for simpler parts.
This setting can be a game-changer for models with mixed levels of detail, giving you the best of both worlds: quality and speed.
Slicer Tip: Cura, PrusaSlicer, and Simplify3D all have adaptive layer height options to try out.
7. Optimize Cooling Settings: Balance Speed and Layer Bonding
Cooling can impact both print speed and quality, especially for smaller models. Strong cooling helps with fine details, but if used too aggressively, it can prevent layers from bonding well at high speeds.
PLA: Full cooling at 100% for most of the print.
ABS or PETG: Lower cooling (20-50%) to avoid warping and layer splitting.
Fan Upgrade: Upgrading to a more efficient fan can improve cooling without slowing down your print. Some fans even have speed adjustments for better control over cooling.
8. Test and Tweak with Calibration Models
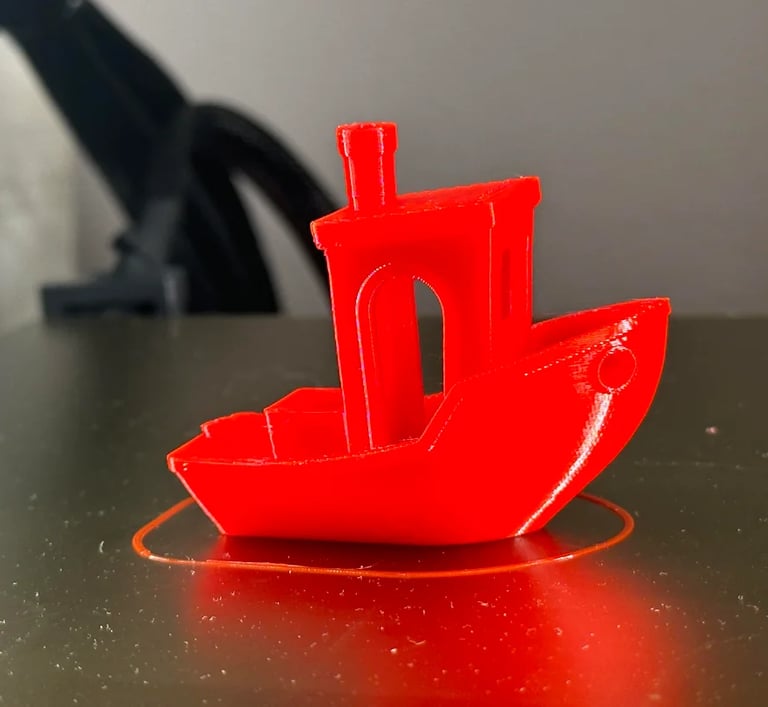
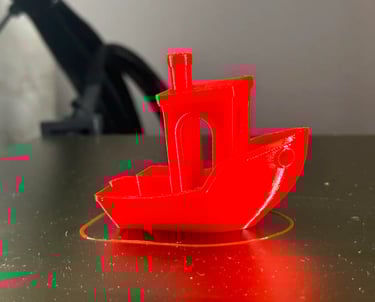
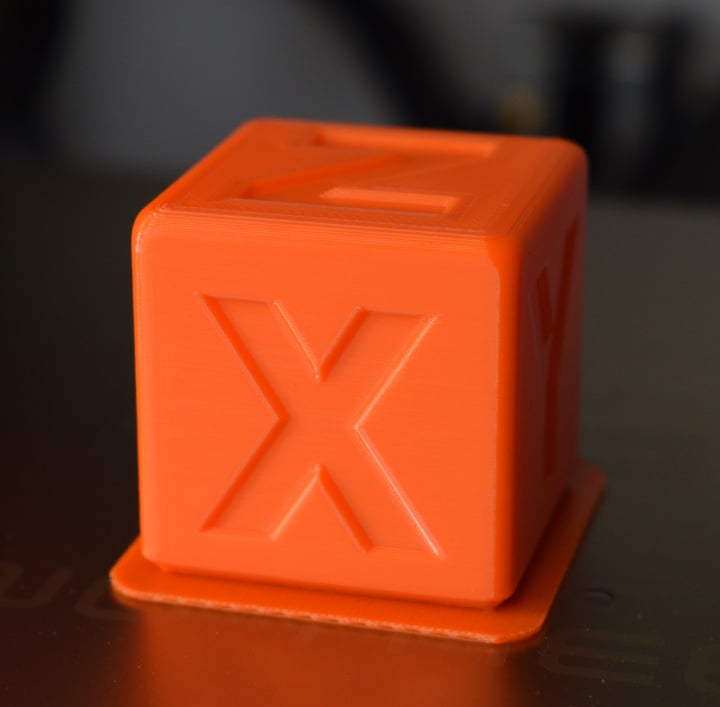
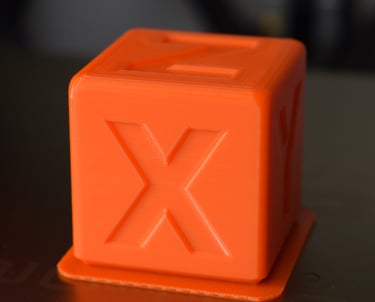
Calibration models like the Benchy or cube test help you optimize speed without sacrificing quality. These models are small, quick to print, and show how well your printer performs with the settings you’ve dialed in.
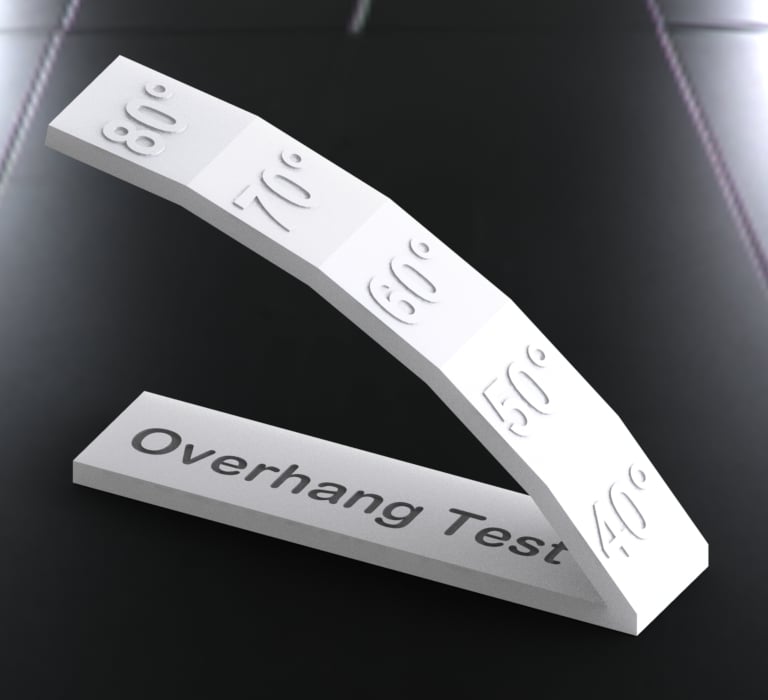
Calibration Models to Try: Benchy, calibration cubes, or even a simple overhang test can help you find the sweet spot for speed and quality on your machine.
Wrapping Up: Speed and Quality, Perfectly Balanced
By experimenting with these settings, you’ll start to see where your printer performs best for both speed and quality. While everyone wants their prints faster, sometimes a small sacrifice in speed is worth it for that smooth, clean look.
So, the next time you’re impatiently waiting for a print to finish, remember these tips—and you’ll be “fast-tracking” your way to professional-quality prints in no time. And hey, even if it takes a little longer, the payoff will be worth it!