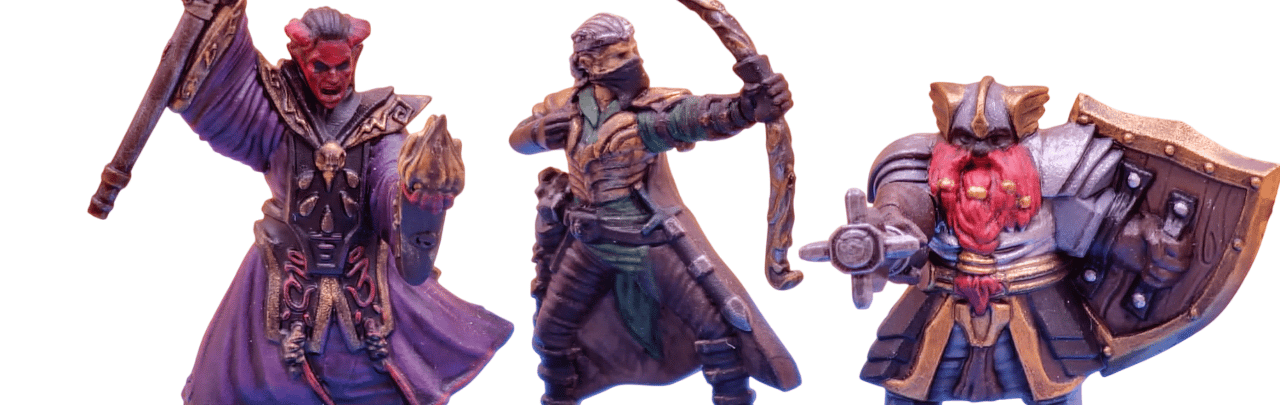
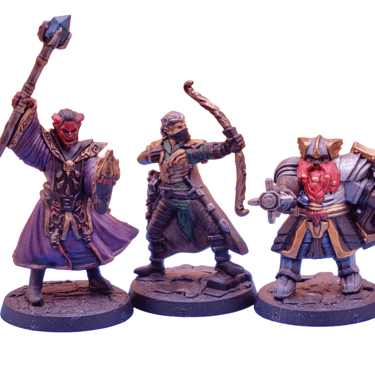
From Prime to Shine: A Step-by-Step Guide to Preparing and Painting Miniatures
Painting miniatures is a journey—from the raw plastic or resin figure to a beautifully painted masterpiece worthy of display or battle. If you've ever stared at a bare model wondering where to start, don’t worry—you’re not alone. This guide breaks down the process step by step, so you can take your minis from prime to shine like a pro.
Step 1: Clean Your Miniature
First things first—your miniature needs a spa day. Many models, especially 3D-printed ones, come with imperfections or residue that can ruin your paint job.
What to Do:
Trim Mold Lines and Flash: Use a hobby knife or file to remove mold lines and excess material.
Wash the Model: Plastic and resin minis may have release agents. Wash them with warm, soapy water and a soft brush to ensure paint sticks properly.
Dry Thoroughly: Pat them dry and let them sit for a few minutes to ensure no moisture remains.
Step 2: Choose Your Primer
Primer is the foundation of any good paint job. Without it, your paint might chip or struggle to adhere.
Primer Options:
Spray Primer: Fast and even coverage. Perfect for batch painting.
Brush-On Primer: Ideal for detail work or if spraying isn’t an option.
Colors:
Black: Hides mistakes and is great for dark schemes.
White: Helps vibrant colors pop.
Gray: The middle ground for balanced palettes.
Think of primer as sunscreen for your mini - it’s essential for protection and a smooth finish.
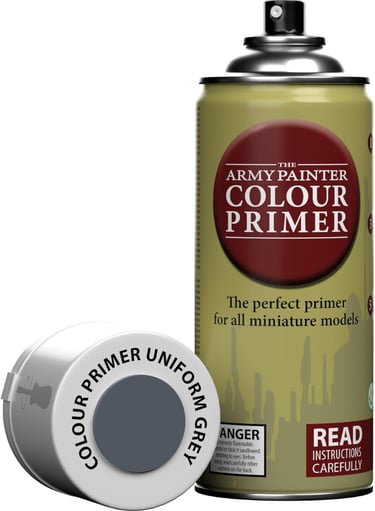
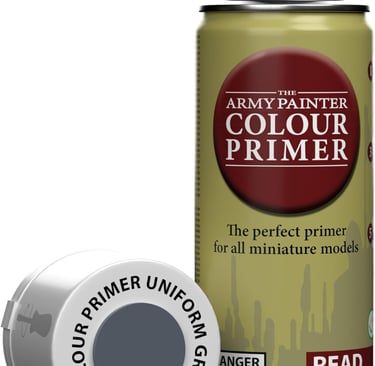
Our Favourite
all colour primers from The Army Painter are an ingenious combination of colour and primer, so you do not have to do two coats, saving you time and money.
Step 3: Basecoat Like a Boss
Once primed, it’s time to add the first layer of paint: the basecoat. This establishes the dominant colors of your miniature.
Tips for Basecoating:
Use a brush that fits the area you're painting. Large brushes for broad surfaces, fine ones for details.
Apply thin, even coats. Multiple thin layers are better than one thick layer.
Thin your paint with water or medium to avoid obscuring details.
Step 4: Shading and Washing
Shading brings out the intricate details of your miniature, adding depth and drama. Washes settle into recesses, naturally emphasizing textures.
How to Apply a Wash:
Load your brush with wash (or shade).
Apply liberally over the model.
Dab away excess from raised areas to avoid pooling.
Pro Tip: Experiment with different wash colors. A black wash darkens everything, while a brown wash adds warmth and earthy tones.
Step 5: Highlights and Dry Brushing
Highlighting is where your model really starts to shine—literally.
Highlighting Methods:
Dry Brushing: Use a dry, lightly loaded brush to sweep over raised areas.
Edge Highlighting: Paint thin lines along edges for crisp definition.
Dry brushing is like adding a touch of highlighter to your mini’s cheekbones
it’s all about that glow-up!
Step 6: Layering for a Smooth Finish
Layering builds transitions between colors, giving a polished, professional look.
How to Layer:
Thin your paint to a milk-like consistency.
Apply in thin coats, focusing on areas where light would naturally hit.
Gradually lighten the color as you build layers.
Patience is key here—layering takes time but makes a huge difference.
Step 7: Adding Freehand Details
Ready to go next-level? Freehand details like insignias, tattoos, or patterns add personality and uniqueness to your mini.
Start with simple designs and work up to complex patterns. A steady hand and a fine detail brush are your best friends here.
Step 8: Sealing Your Work
Sealing protects your hard work from scratches, chips, and wear.
Sealant Options:
Matte Varnish: For a natural, flat finish.
Gloss Varnish: Adds shine and enhances metallics.
Satin Varnish: A balance between matte and gloss.
Apply sealant in thin, even coats for best results.
Think of it as giving your mini a coat of armor
it’s ready for battle, but now it’s safe from clumsy hands.
Final Thoughts
Painting miniatures might seem daunting at first, but it’s incredibly rewarding. Follow these steps, and you’ll have a painted masterpiece in no time—one that’s tabletop-ready and guaranteed to impress.
And if you make a mistake? No worries - every happy little accident can become battle damage!
Want more tips, tricks, or tools for painting? Check out GerbilForge’s range of 3D-printable accessories and guides designed to make your painting experience easier and more fun.