Essential 3D Printer Settings for High-Quality Prints: A Beginner's Guide
3D printing is like cooking—the ingredients (your filament) and the tools (your printer) matter, but it’s the settings that make or break the dish. Want to turn that filament spaghetti into a masterpiece? With just a few tweaks, you can take your print quality from “what is that supposed to be?” to “wow, that’s impressive!”


Let’s dive into the essential settings that will help you get the high-quality prints you’re after—without the guesswork or goblins clogging your nozzle.
1. Layer Height: The Detail Decider
Layer height is one of the most important settings in 3D printing, and it’s also one of the easiest to understand. Simply put, it’s the thickness of each layer in your print. Lower layer heights give you more detail, while higher layer heights print faster but might leave you with more visible layer lines.
High Detail (e.g., miniatures or figurines): Go for a layer height of around 0.1-0.15 mm.
Quick & Functional (e.g., prototype parts): A layer height of 0.2 mm or above should do the trick.
Pro tip: Think of layer height like pixel resolution. The lower the height, the smoother and more detailed your print will look - but just remember, “high detail” also means “high patience” since prints take longer.
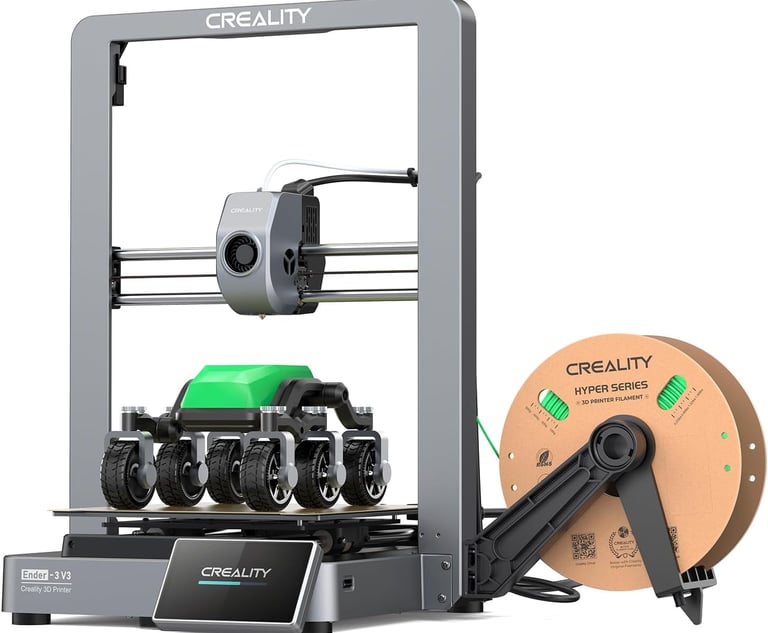
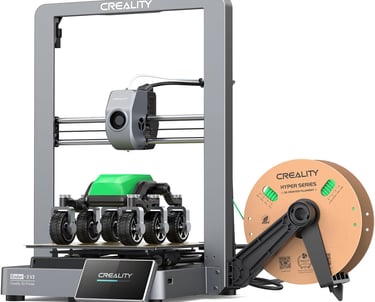
Check out the
Creality Ender 3 V3
which offers great resolution and is ideal for low layer height prints, balancing detail and speed nicely.
2. Print Speed: Slow and Steady (Usually) Wins the Race
Ah, print speed—the ultimate balancing act. While we all want our prints fast, quality often suffers if you’re rushing. Lowering print speed generally gives better accuracy but, of course, takes longer.
For Detailed Prints: Try around 40-60 mm/s.
For Quick Prototypes: 70-100 mm/s can be fine for less detail-oriented projects.
Printer Setting Hack: If you’re getting a lot of stringing or blobs, slowing down can actually help, especially with tricky materials like PETG or flexible filament.
3. Nozzle Temperature: Where the Heat is On
Getting the temperature just right is key to smooth layers and strong prints. But beware—the wrong temp can lead to problems like stringing, poor adhesion, or “spaghetti” prints.
PLA: Usually best between 190-220°C
ABS: Needs more heat, around 230-250°C
PETG: Try 220-240°C for best results
Every filament brand may vary a little, so don’t hesitate to check the packaging or do a few test prints.
Quick Tip: If your print isn’t sticking to the bed, try bumping up the nozzle temperature by a few degrees. This can help with first-layer adhesion, which is basically your print’s way of saying, “I’m here to stay.”
4. Bed Temperature: Keeping Things Sticky (in a Good Way!)
No one likes bed adhesion issues, especially not your print. Keeping the first layer stuck to the bed is crucial for successful prints, and adjusting the bed temperature can make a huge difference.
PLA: Try 50-60°C
ABS: Likes it hotter, around 80-110°C
PETG: Around 70-80°C is usually a safe zone
Extra Hack: If your print is still having trouble sticking, you might need to give your bed surface a quick clean with isopropyl alcohol to remove dust and oils. It’s like giving your bed a mini spa day - it makes a world of difference!
5. Infill Density: Balancing Strength and Speed
Infill density controls how much material is inside your print. Higher density means a stronger, heavier print, but it will take longer and use more filament. Lower infill saves on material but can make your print more fragile.
Functional Prints (e.g., brackets, mounts): Aim for 30-50% infill.
Display Models (e.g., figurines): 10-20% infill should be plenty.
Fun Fact: Most slicers (like Cura or PrusaSlicer) even let you play with infill patterns like grid, honeycomb, or gyroid. They won’t just look cool—they can also improve strength based on your pattern choice.
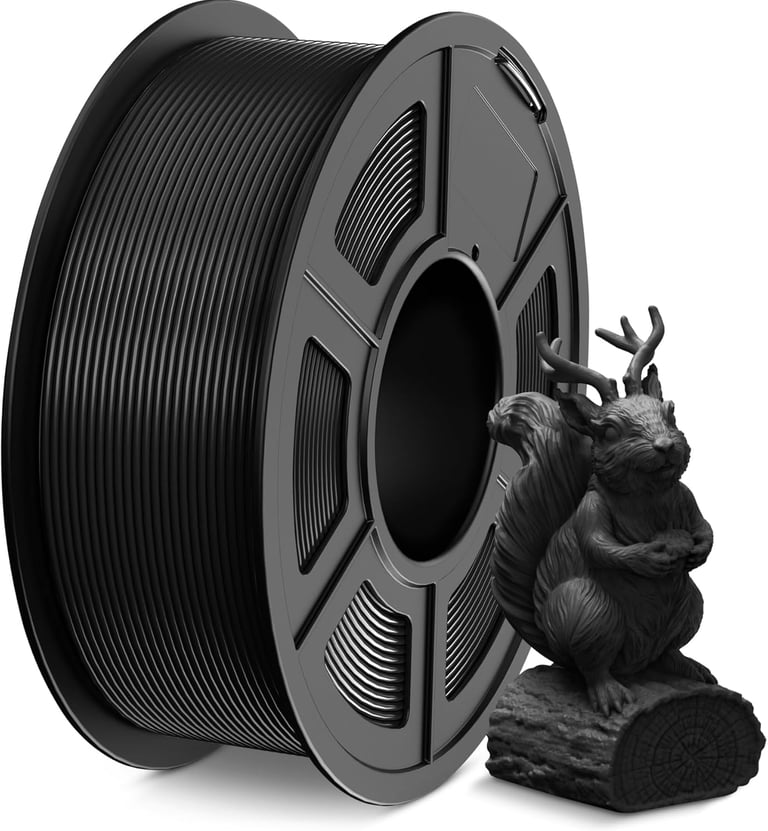
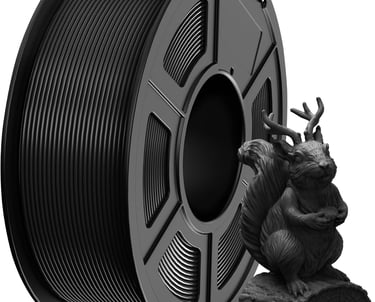
One of our favorites
SUNLU PLA
excellent layer bonding, even with low infill percentages, making it a great choice for display models
6. Retraction Settings: Say Goodbye to Stringy Prints
Retraction is the setting that prevents your printer from “dragging” filament across the print when moving to different areas. If you’re getting stringing (those thin, web-like strands between parts of your print), it’s time to adjust retraction.
Retraction Distance: Start around 3-5 mm for direct drive extruders, or around 5-7 mm for Bowden setups.
Retraction Speed: A good range is 25-45 mm/s; faster speeds can help reduce stringing but might require fine-tuning.
Quick Tip: If you’re printing with flexible filament, you may need to turn retraction down a bit to prevent clogging.
7. Cooling Fans: Keeping Your Prints in Shape
Cooling fans can help your prints solidify faster, which is especially useful for materials like PLA and when printing small, intricate parts. But some materials, like ABS, don’t always love extra airflow, so it’s a balancing act.
PLA: Keep fans on, around 100% for crisp layers.
ABS: Use minimal or no fan to avoid warping.
PETG: Try 30-50% fan; it doesn’t need as much cooling.
Wrapping It Up: Mastering Your Settings
Getting these settings dialed in is key to achieving high-quality prints. Don’t be afraid to experiment and adjust based on your project needs; every printer is a bit unique, and sometimes a small tweak can make a big difference.
With these essential settings, you’ll be on your way to smoother, stronger, and overall better-looking prints. Now, go forth and print with confidence! And remember, if all else fails… just blame the filament.