Brush Up Your Skills: 10 Essential Techniques for Painting Miniatures Like a Pro
Painting miniatures is more than just slapping paint on a tiny figurine—it's an art form. Whether you're sprucing up your Dungeons & Dragons party or creating display-worthy models, these 10 essential techniques will help you take your skills from beginner to pro. Ready to wield your brush like a wizard's staff? Let’s dive in!


1. Prepping Your Miniature: The Foundation for Success
Like a chef preps ingredients before cooking, prepping your miniature sets the stage for perfection.
Clean Your Model
Remove mold lines and imperfections using a hobby knife or fine files. Skipping this step is like leaving the shrink wrap on your pizza before baking—just don’t.
Washing the Miniature
Plastic and resin models often have release agents that can repel paint. A quick bath in soapy water or a resin detergent can save you headaches later.
2. Priming for Glory
Primer isn't just a suggestion; it's your model's basecoat BFF. Choose black, white, or gray primer depending on your desired color scheme.
Black Primer: Great for darker models or ominous, shadowy effects.
White Primer: Perfect for vibrant and bright color schemes.
Gray Primer: The neutral diplomat, balancing both worlds.
Pro Tip: Use thin, even coats. Don’t turn your mini into a texture experiment.
3. Basecoating: The First Layer of Magic
Apply your base colors with smooth, thin layers. Use a larger brush for broad areas and a smaller one for details.
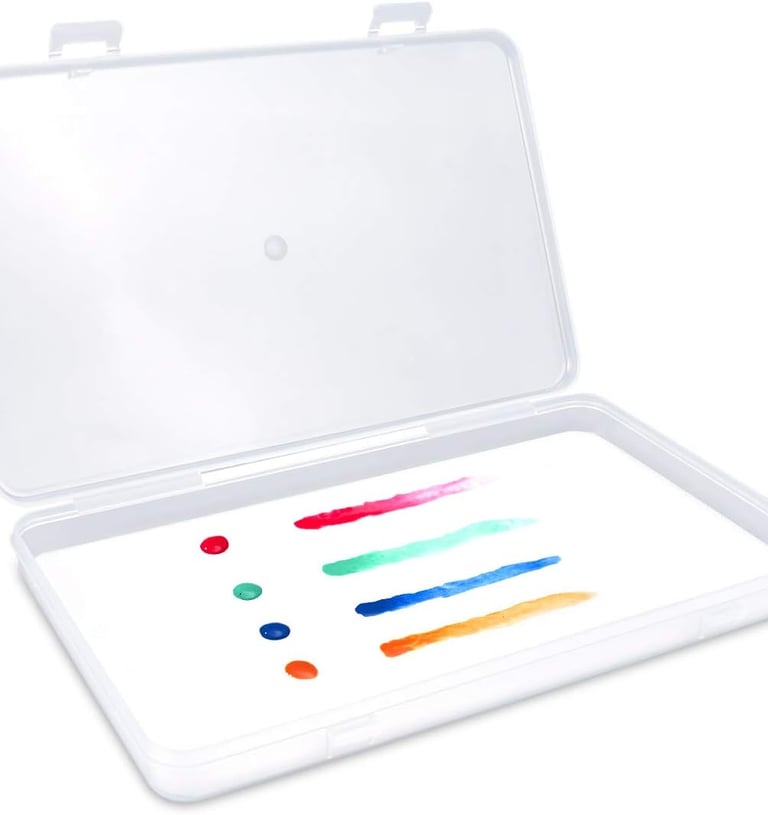
Paint Consistency Matters
Aim for milk-like consistency by thinning your paint with water or a medium. If it's too thick, your model might look like it got stuck in a candy coating machine.
4. Master the Art of Dry Brushing
Dry brushing brings out details like muscles, fur, or armor edges. Dip your brush lightly in paint, wipe off excess on a paper towel, and gently sweep across the raised areas.
It’s like giving your miniature a gentle exfoliating facial - except with paint
5. Washes: Shading Made Easy
Washes, or shades, settle into recesses to create natural depth. Apply them liberally but strategically, and watch the magic happen.
Use black or brown for dark shading.
Opt for complementary colors to enhance vibrancy.
(Placeholder: Mention your blog post about DIY wash recipes or link to shading tutorials)
6. Layering: From Amateur to Artisan
Layering builds smooth transitions between colors for a professional look. Focus on areas where light naturally hits the model, and gradually lighten the color as you go.
Key Tip: Patience Pays
Layering is a marathon, not a sprint. Avoid thick coats; thin layers yield the best results.
7. Edge Highlighting for Extra Pop
Edge highlighting involves painting thin, bright lines along the edges of your model to simulate light catching the surfaces. It’s detail-intensive but worth the effort!
8. Advanced Blending Techniques
Blending creates seamless transitions between colors. Try wet blending for dynamic effects or glazing for subtle color shifts.
Blending well is like making a perfect smoothie - no chunky bits allowed!
9. Freehand Details
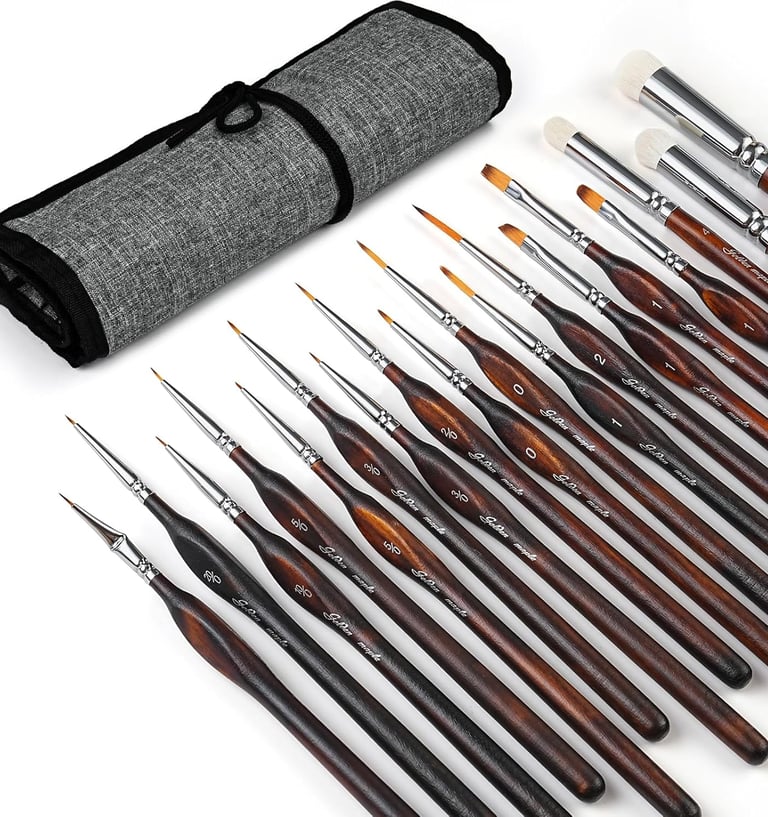
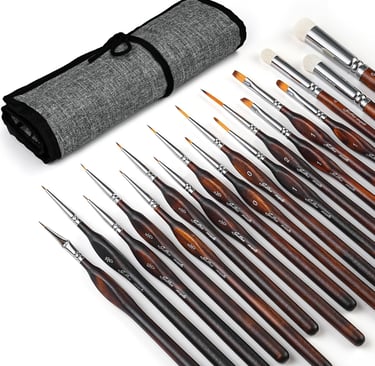
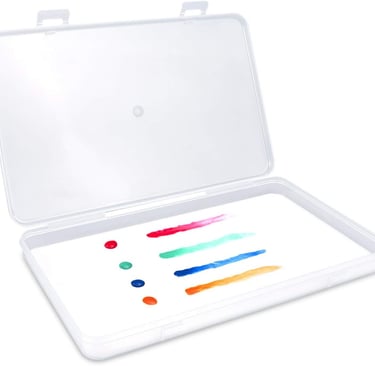
Want to add unique patterns, tattoos, or insignias? Freehand detailing is your chance to get creative. Start with simple designs and build confidence. Miniature brushes are perfect for ultra fine detail painting.
10. Sealing the Deal
Protect your masterpiece with a matte or gloss varnish. Not only does this prevent chipping, but it also gives your model the finish you desire.
Final Thoughts
Painting miniatures is as much about practice as it is about technique. Remember, no one starts as a pro—every brushstroke brings you closer. Whether you're painting a chibi ghost or a fearsome dragon, have fun and let your creativity shine!
“And if you mess up? That’s just battle damage - it adds character!”
Want more tips or tools? Check out GerbilForge's growing library of 3D printable miniature accessories and guides to make your painting journey even smoother!